

When you open Agent Canvas for the first time, a four-step setup wizard walks you through the core configuration. Each step can be skipped and revisited later fromDocumentation Index
Fetch the complete documentation index at: https://allhandsai-docs-onboarding-agent-canvas.mintlify.app/llms.txt
Use this file to discover all available pages before exploring further.
Settings.
Step 1: Choose Your Agent
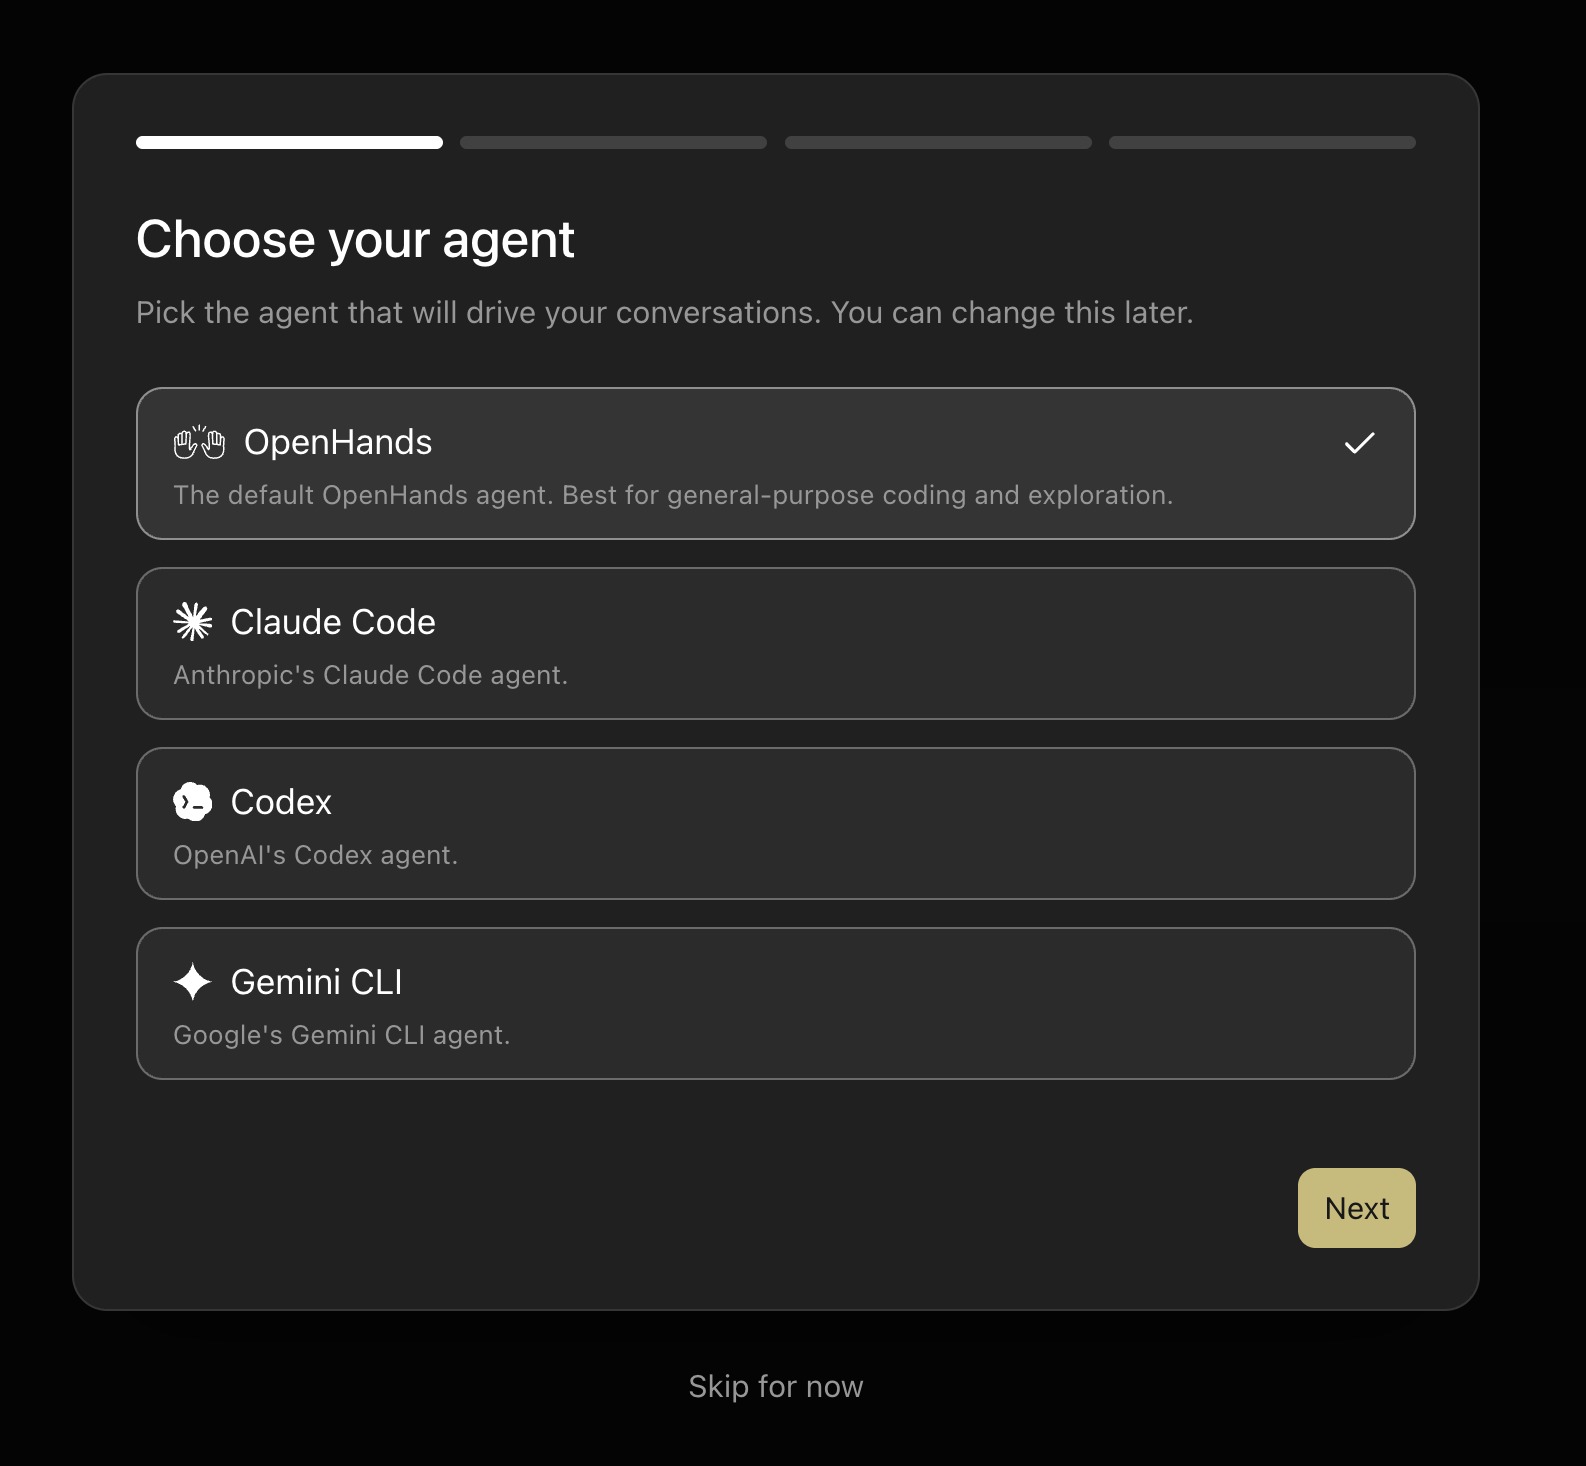 Agent Canvas uses the Agent-Client Protocol (ACP) to communicate with agents, which means you’re not locked into a single provider.
- OpenHands (selected by default) — the general-purpose OpenHands agent, best for coding and exploration.
- Claude Code — Anthropic’s Claude Code agent.
- Codex — OpenAI’s Codex agent.
- Gemini CLI — Google’s Gemini CLI agent.
Settings.
Step 2: Check Your Backend
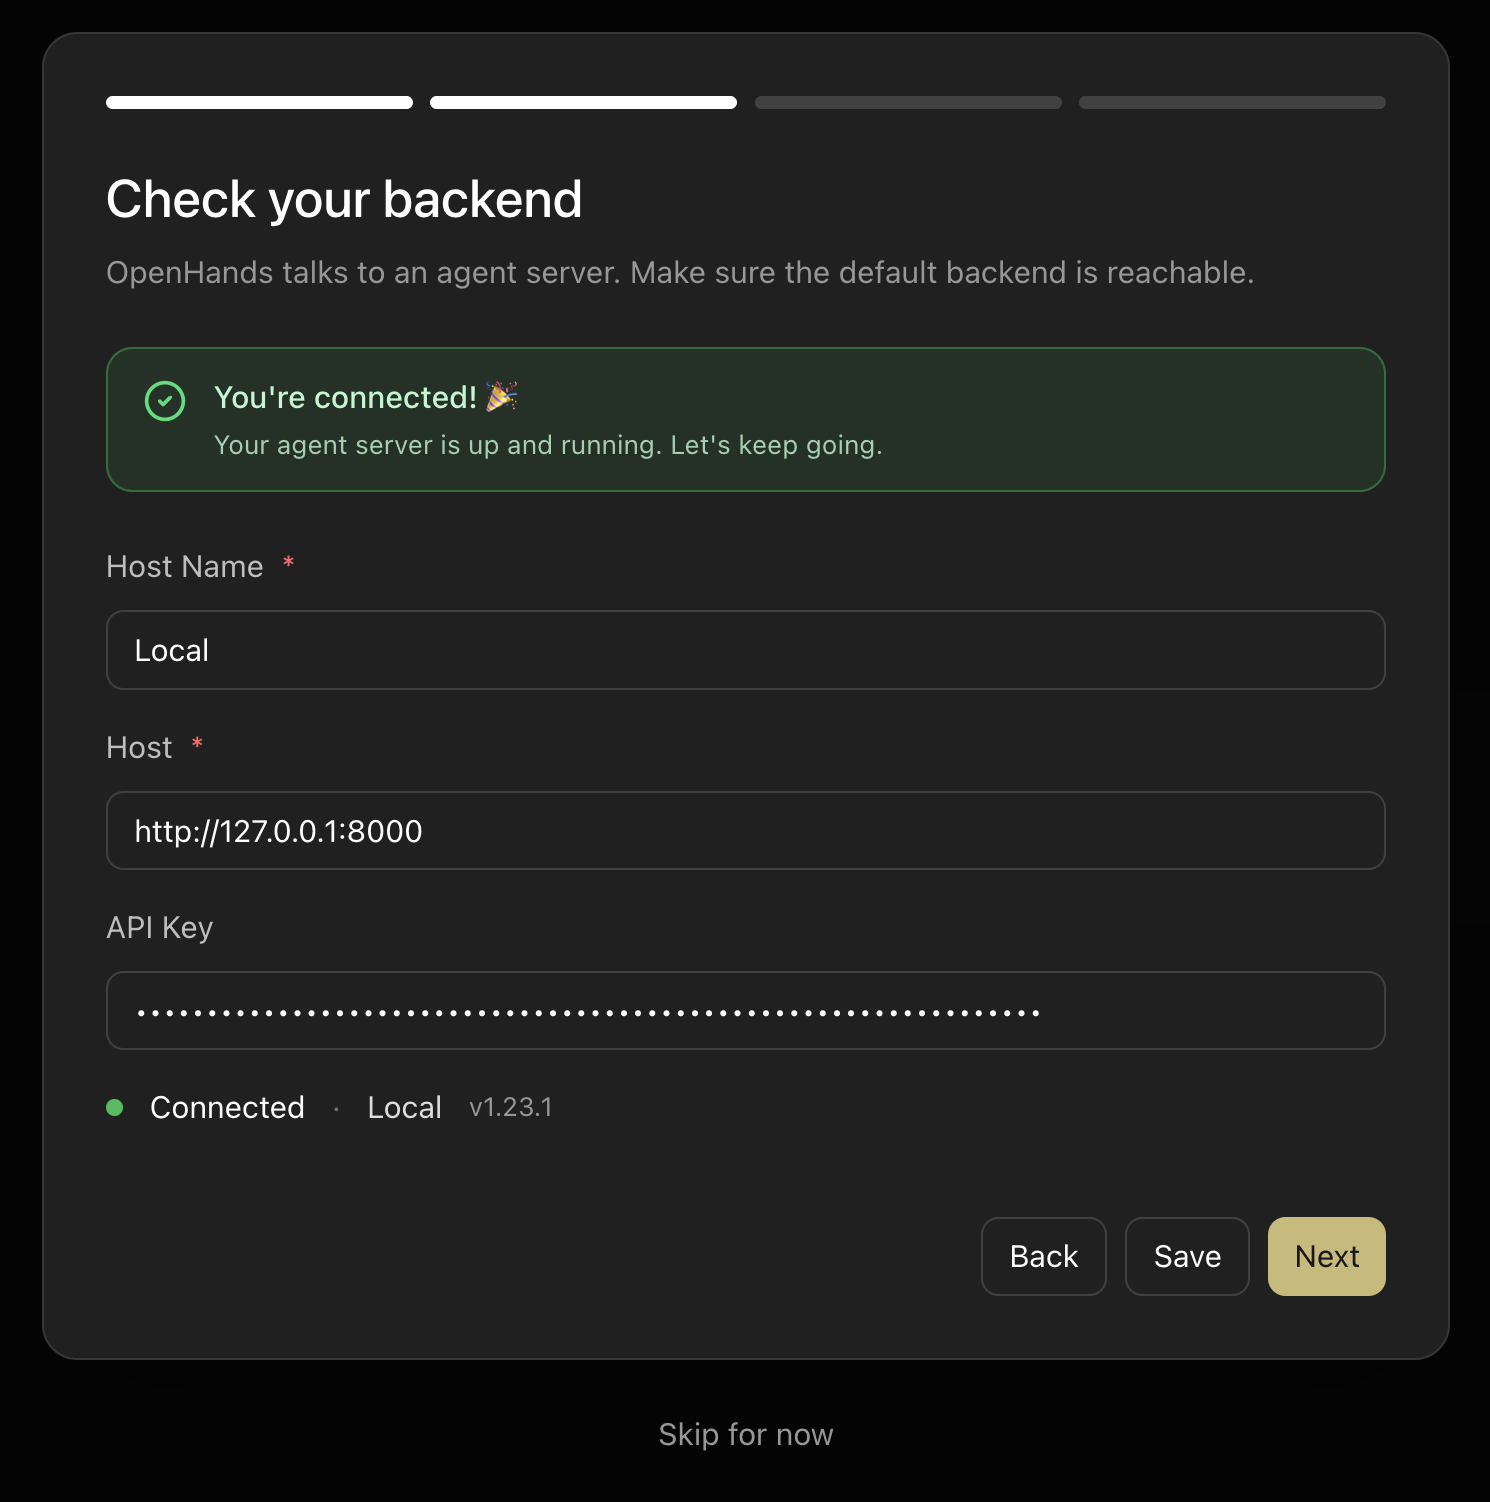 Agent Canvas routes all conversations through an agent server backend. By default, it connects to your local machine (
http://127.0.0.1:8000), which is ideal for working on local projects.
The setup screen shows your current backend connection status. If the server is running, you’ll see a “You’re connected!” confirmation.
Each backend entry stores:
- A display name (e.g.
Local) - A host URL
- An optional API key
To add remote or cloud backends, or to manage multiple backend connections, see Connect and Manage Backends.
Step 3: Set Up Your LLM
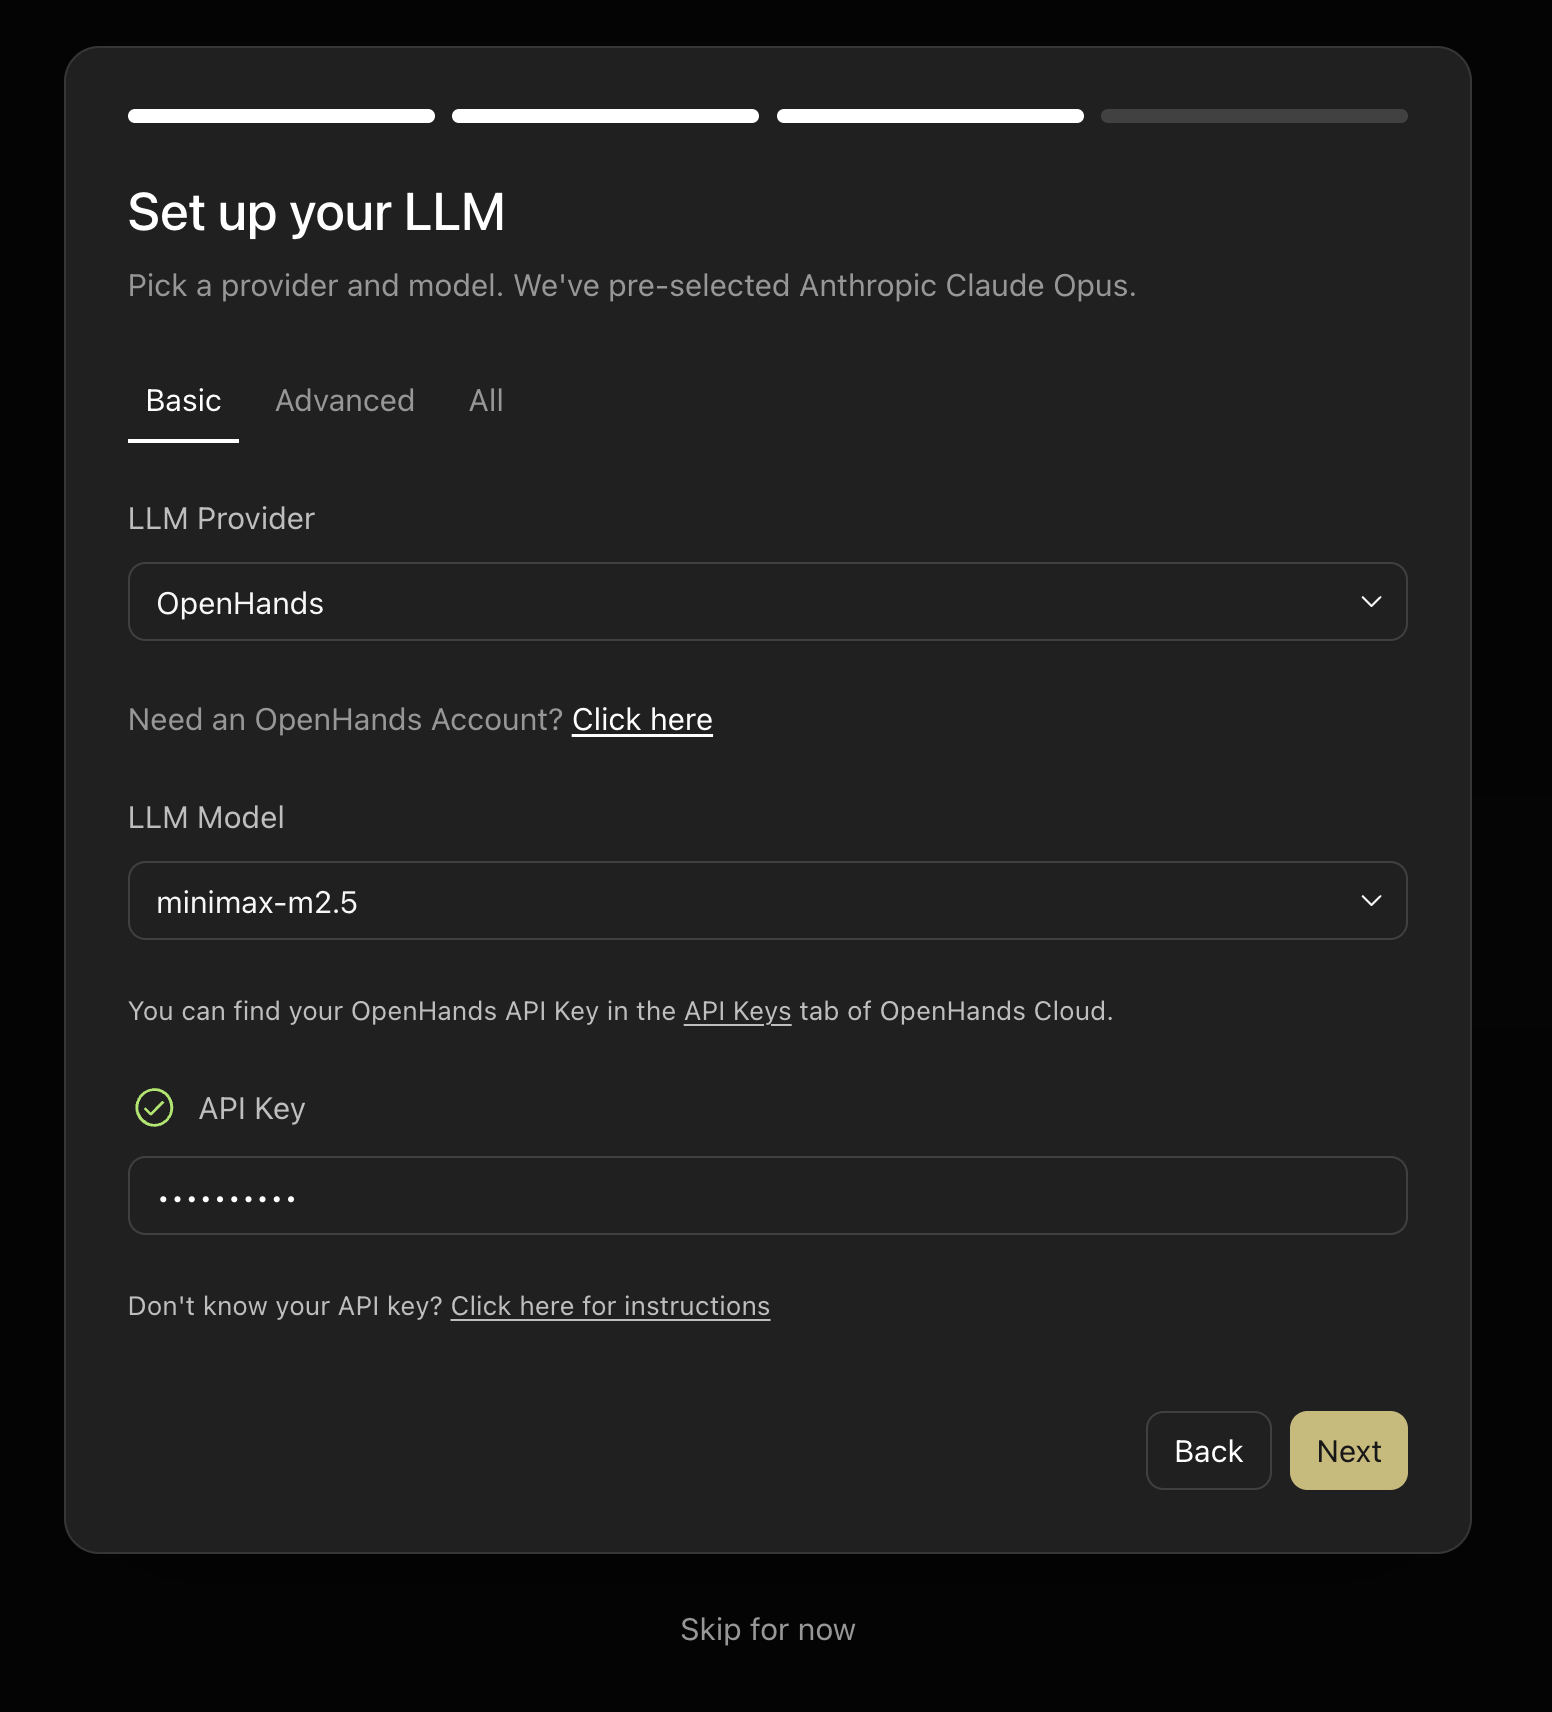 Agent Canvas supports bring-your-own LLM key. Select your LLM provider and model, then paste in your API key.
Available options:
Agent Canvas supports bring-your-own LLM key. Select your LLM provider and model, then paste in your API key.
Available options:
- Direct provider keys — use your own API key from Anthropic, OpenAI, Google, or any other supported provider.
- OpenHands Cloud — use an OpenHands Cloud API key to access verified models without managing provider accounts directly. Find your API key in the
API Keystab of OpenHands Cloud.
OpenHands as the provider and pre-selects a recommended model. Switch the LLM Provider dropdown to choose a different provider.
Step 4: Start From a Proven Workflow
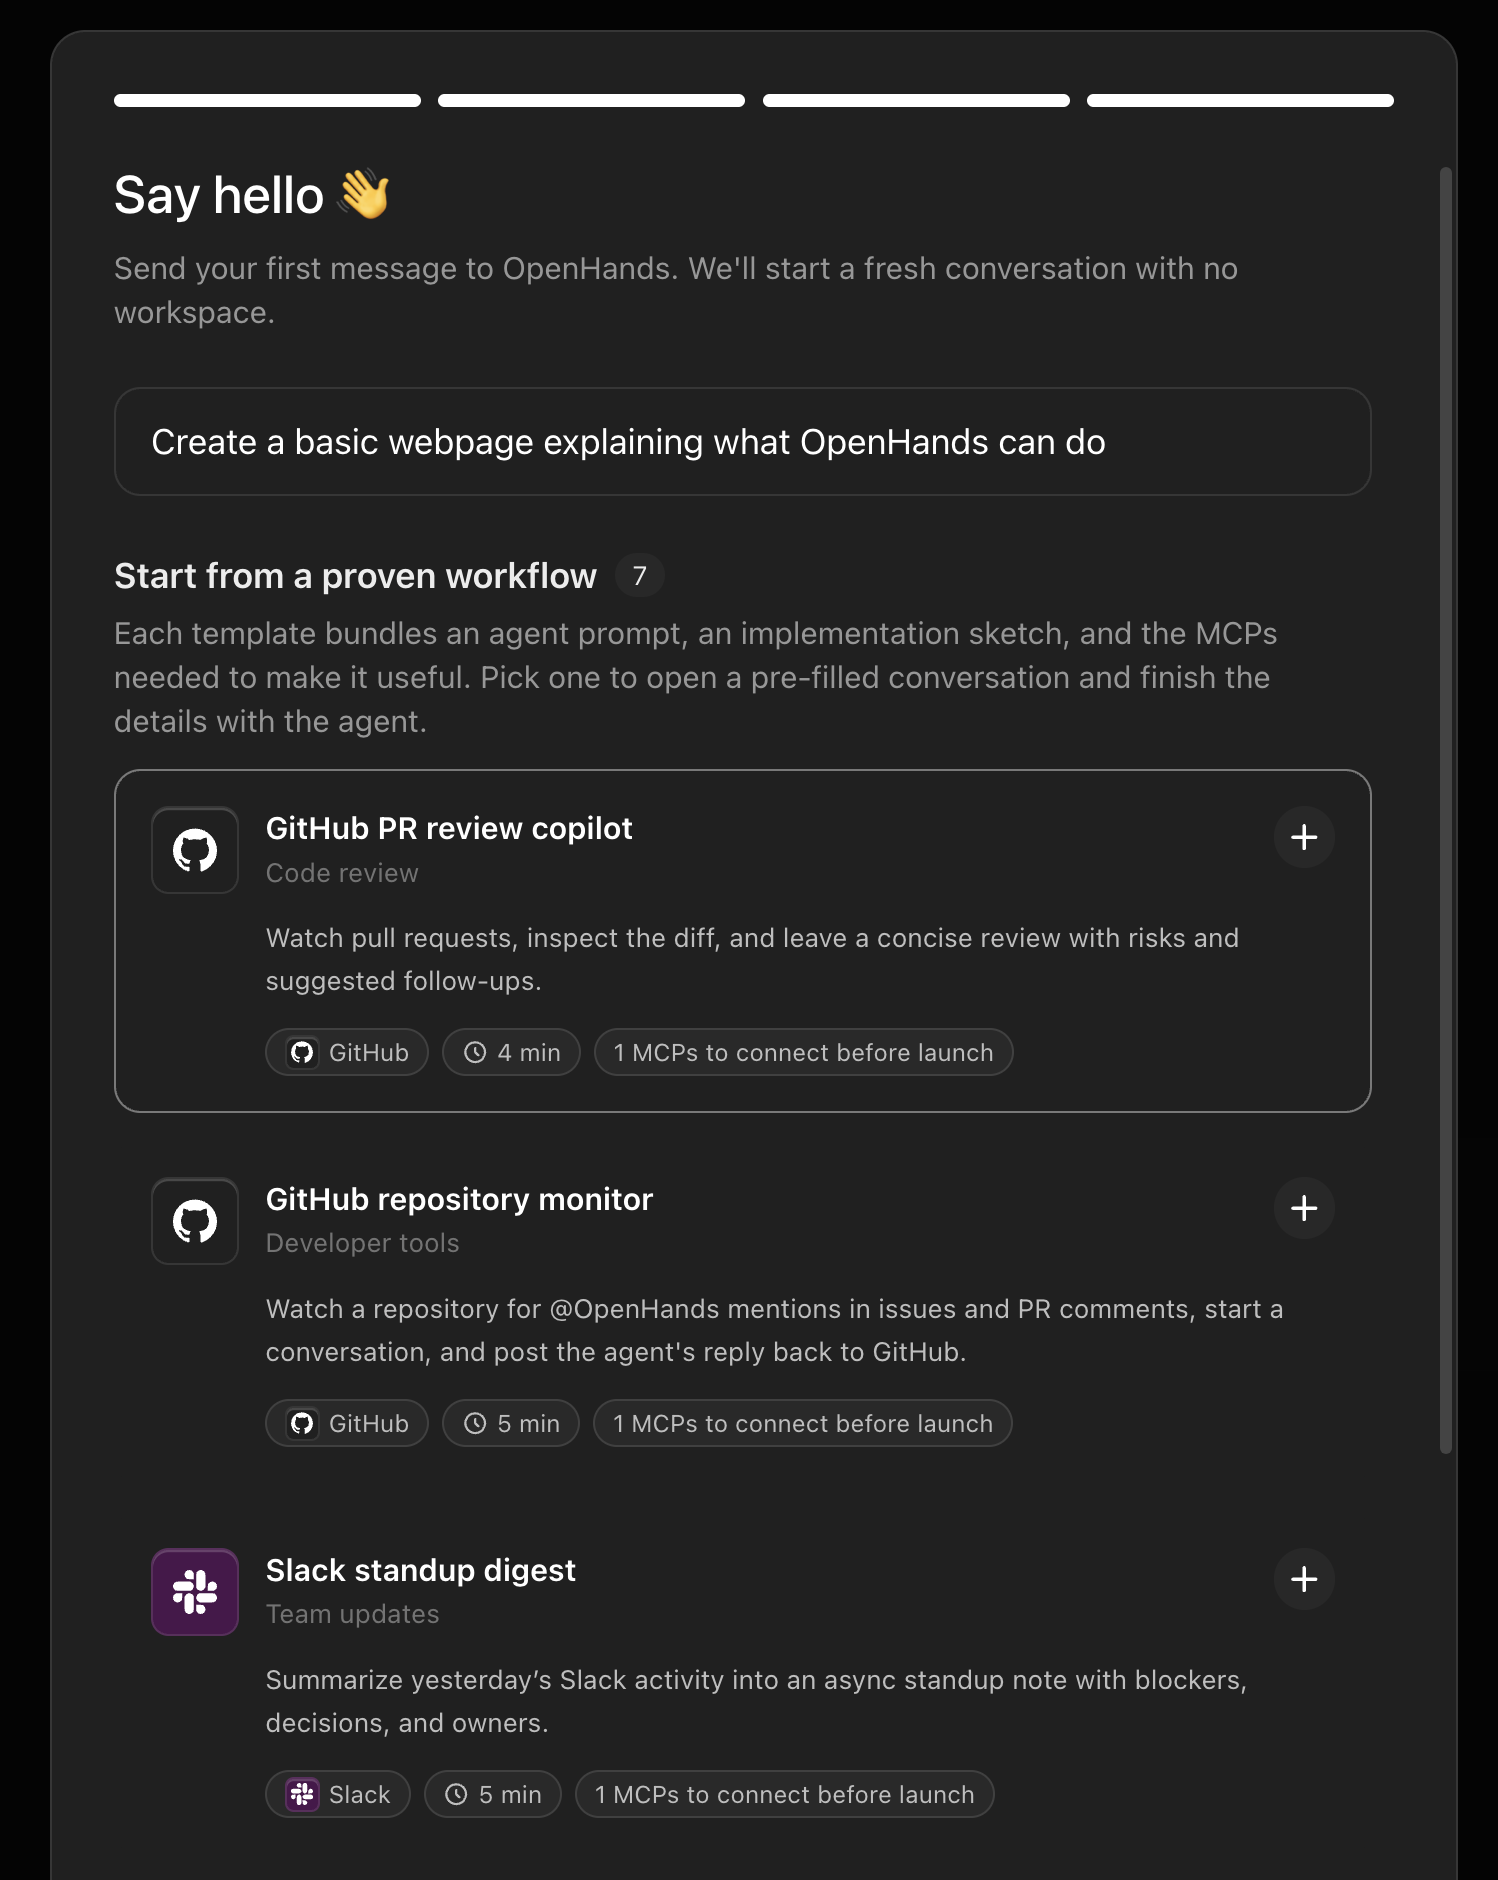 Agent Canvas is designed as an automation-centric developer control center. The final setup step invites you to kick things off with a pre-built workflow template rather than starting from a blank conversation.
Each template bundles an agent prompt, an implementation sketch, and the MCP connections needed to run it. Pick one to open a pre-filled conversation and finish the details with the agent.
A recommended starting point is the GitHub PR Review Copilot. This automation uses your GitHub MCP connection to poll for new pull requests and run agent review conversations locally — no cloud infrastructure required.
Other available templates include:
Agent Canvas is designed as an automation-centric developer control center. The final setup step invites you to kick things off with a pre-built workflow template rather than starting from a blank conversation.
Each template bundles an agent prompt, an implementation sketch, and the MCP connections needed to run it. Pick one to open a pre-filled conversation and finish the details with the agent.
A recommended starting point is the GitHub PR Review Copilot. This automation uses your GitHub MCP connection to poll for new pull requests and run agent review conversations locally — no cloud infrastructure required.
Other available templates include:
- GitHub Repository Monitor — watch a repository for
@OpenHandsmentions and respond automatically. - Slack Standup Digest — summarize yesterday’s Slack activity into an async standup note.
Automate view at any time. See Pre-built Automations for the full list.